概要
手元に温度センサーとLEDがあったので…
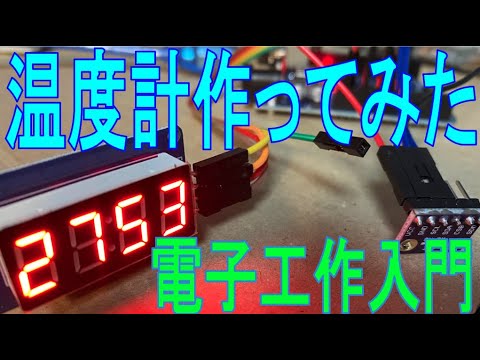
温度計を作ってみた。
部品
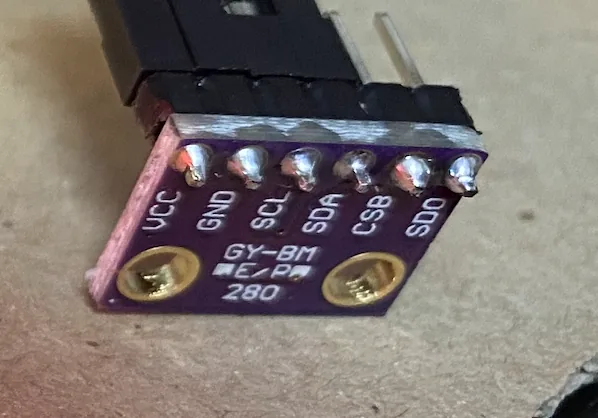
温度センサ:BME280
Amazon
227円
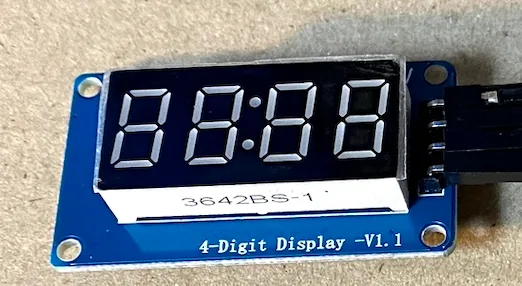
表示機:TM1637が組み込まれた7セグLED
Amazon
73円
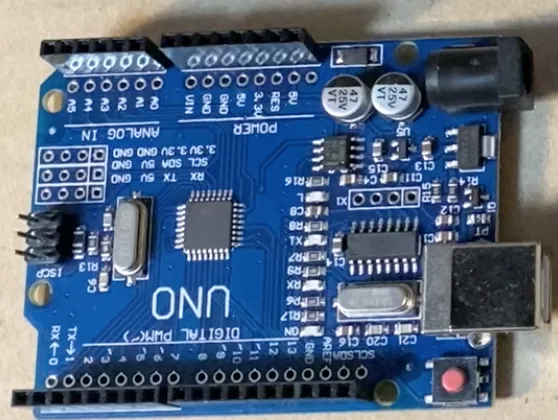
コンピュータ:Arduino UNO互換機
699円
配線
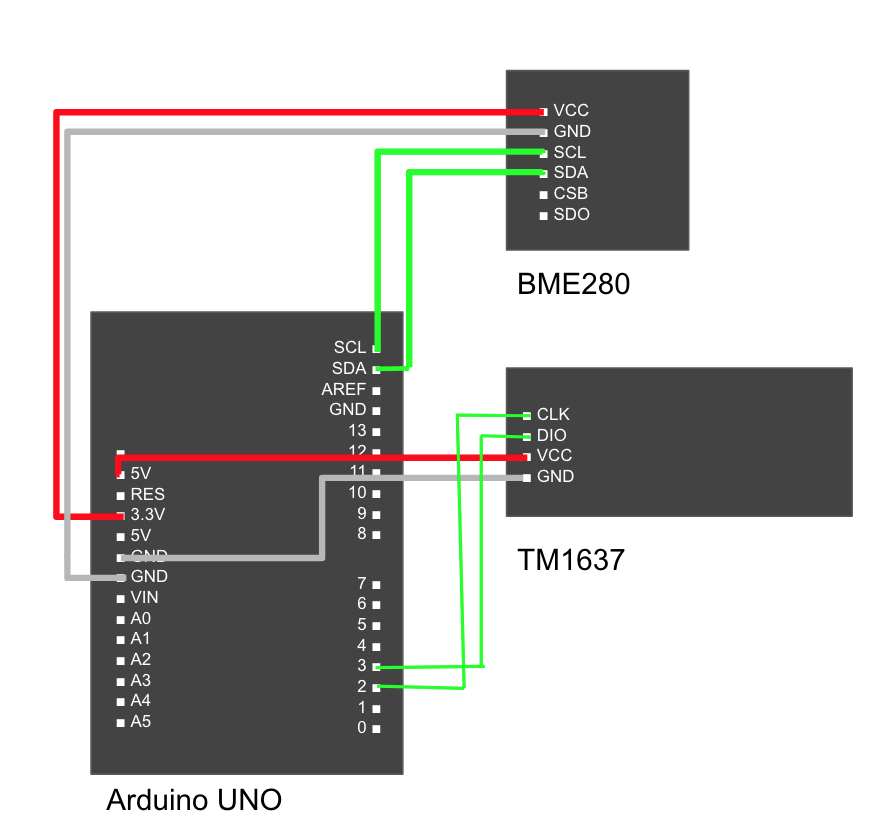
今回利用する温度センサはI2Cという通信を利用します。
近距離で利用するシリアル通信規格で、Arduino工作だとよく利用されるものです…
(多分通常の開発でも利用されるかと思いますが…)
ジャンパケーブル
¥762
ソースコード
main1
2
3
4
5
6
7
8
9
10
11
12
13
14
15
16
17
18
19
20
21
22
23
24
25
26
27
28
29
30
31
32
33
34
35
36
37
38
39
40
41
42
43
44
45
46
47
48
49
50
51
52
53
54
55
56
57
58
59
60
61
|
#include <Arduino.h>
#include <BME280I2C.h>
#include <Wire.h>
#include <TM1637Display.h>
#define SERIAL_BAUD 115200
BME280I2C::Settings settings(
BME280::OSR_X1,
BME280::OSR_X1,
BME280::OSR_X1,
BME280::Mode_Forced,
BME280::StandbyTime_1000ms,
BME280::Filter_Off,
BME280::SpiEnable_False,
0x76
);
BME280I2C bme(settings);
#define CLK 2
#define DIO 3
TM1637Display display(CLK, DIO);
void setup() {
Serial.begin(SERIAL_BAUD);
while(!Serial) {}
Wire.begin();
while(!bme.begin()){
Serial.println("not find BME280");
delay(1000);
}
settings.tempOSR = BME280::OSR_X4;
bme.setSettings(settings);
uint8_t data[] = { 0xff, 0xff, 0xff, 0xff };
display.setBrightness(0x0f);
display.setSegments(data);
delay(1000);
}
void loop() {
float temp(NAN), hum(NAN), pres(NAN);
BME280::TempUnit tempUnit(BME280::TempUnit_Celsius);
BME280::PresUnit presUnit(BME280::PresUnit_Pa);
bme.read(pres, temp, hum, tempUnit, presUnit);
display.showNumberDec((unsigned int)(temp*100), false);
Serial.print("Temp: ");
Serial.print(temp);
Serial.print("°"+ String(tempUnit == BME280::TempUnit_Celsius ? 'C' :'F'));
Serial.print("\t\tHumidity: ");
Serial.print(hum);
Serial.print("% RH");
Serial.print("\t\tPressure: ");
Serial.print(pres);
Serial.println(" Pa");
delay(100);
}
|
github
動作確認
gif動画で上げても分かりにくかったので、Youtubeにて確認いただけると幸いです。